Connector tutorial scenario 2: Fetch file
Introduction
This scenario demonstrates another use of the Dropbox Fetch File activity created in Scenario 1: Fetch file.
In this scenario, a file is fetched from Dropbox and the contents of that file are accessed and decrypted. These contents are then written to an FTP server.
Note
Unlike Scenario 1, the resulting text file contains only the content of the file received from Dropbox, without the metadata.
Here is the completed operation:

Important
To complete this operation and scenario, complete the prerequisite setup required in the Dropbox connector tutorial.
You should have the following:
- Access to a Dropbox account and FTP server.
- Configured Dropbox and FTP connectors.
- Access to
assets/sample-data directoryof the Dropbox connector repository.
1. Copy sample file to Dropbox
If not already present, copy the sample file (customers.csv) from the assets/sample-data directory of the Dropbox connector to your Dropbox account.
2. Add a Dropbox Fetch File activity to an operation
Add a Dropbox Fetch File activity to a new operation.
As in Scenario 1, you will need a Dropbox Fetch File activity. You can reuse the Dropbox Fetch File activity from the first scenario or create a new one.
To reuse the activity from the first scenario, click the project pane's Components tab. From there, you can drag the existing Dropbox activity to a new operation.
3. Add a transformation to the operation
Add a transformation after the Dropbox Fetch File activity.
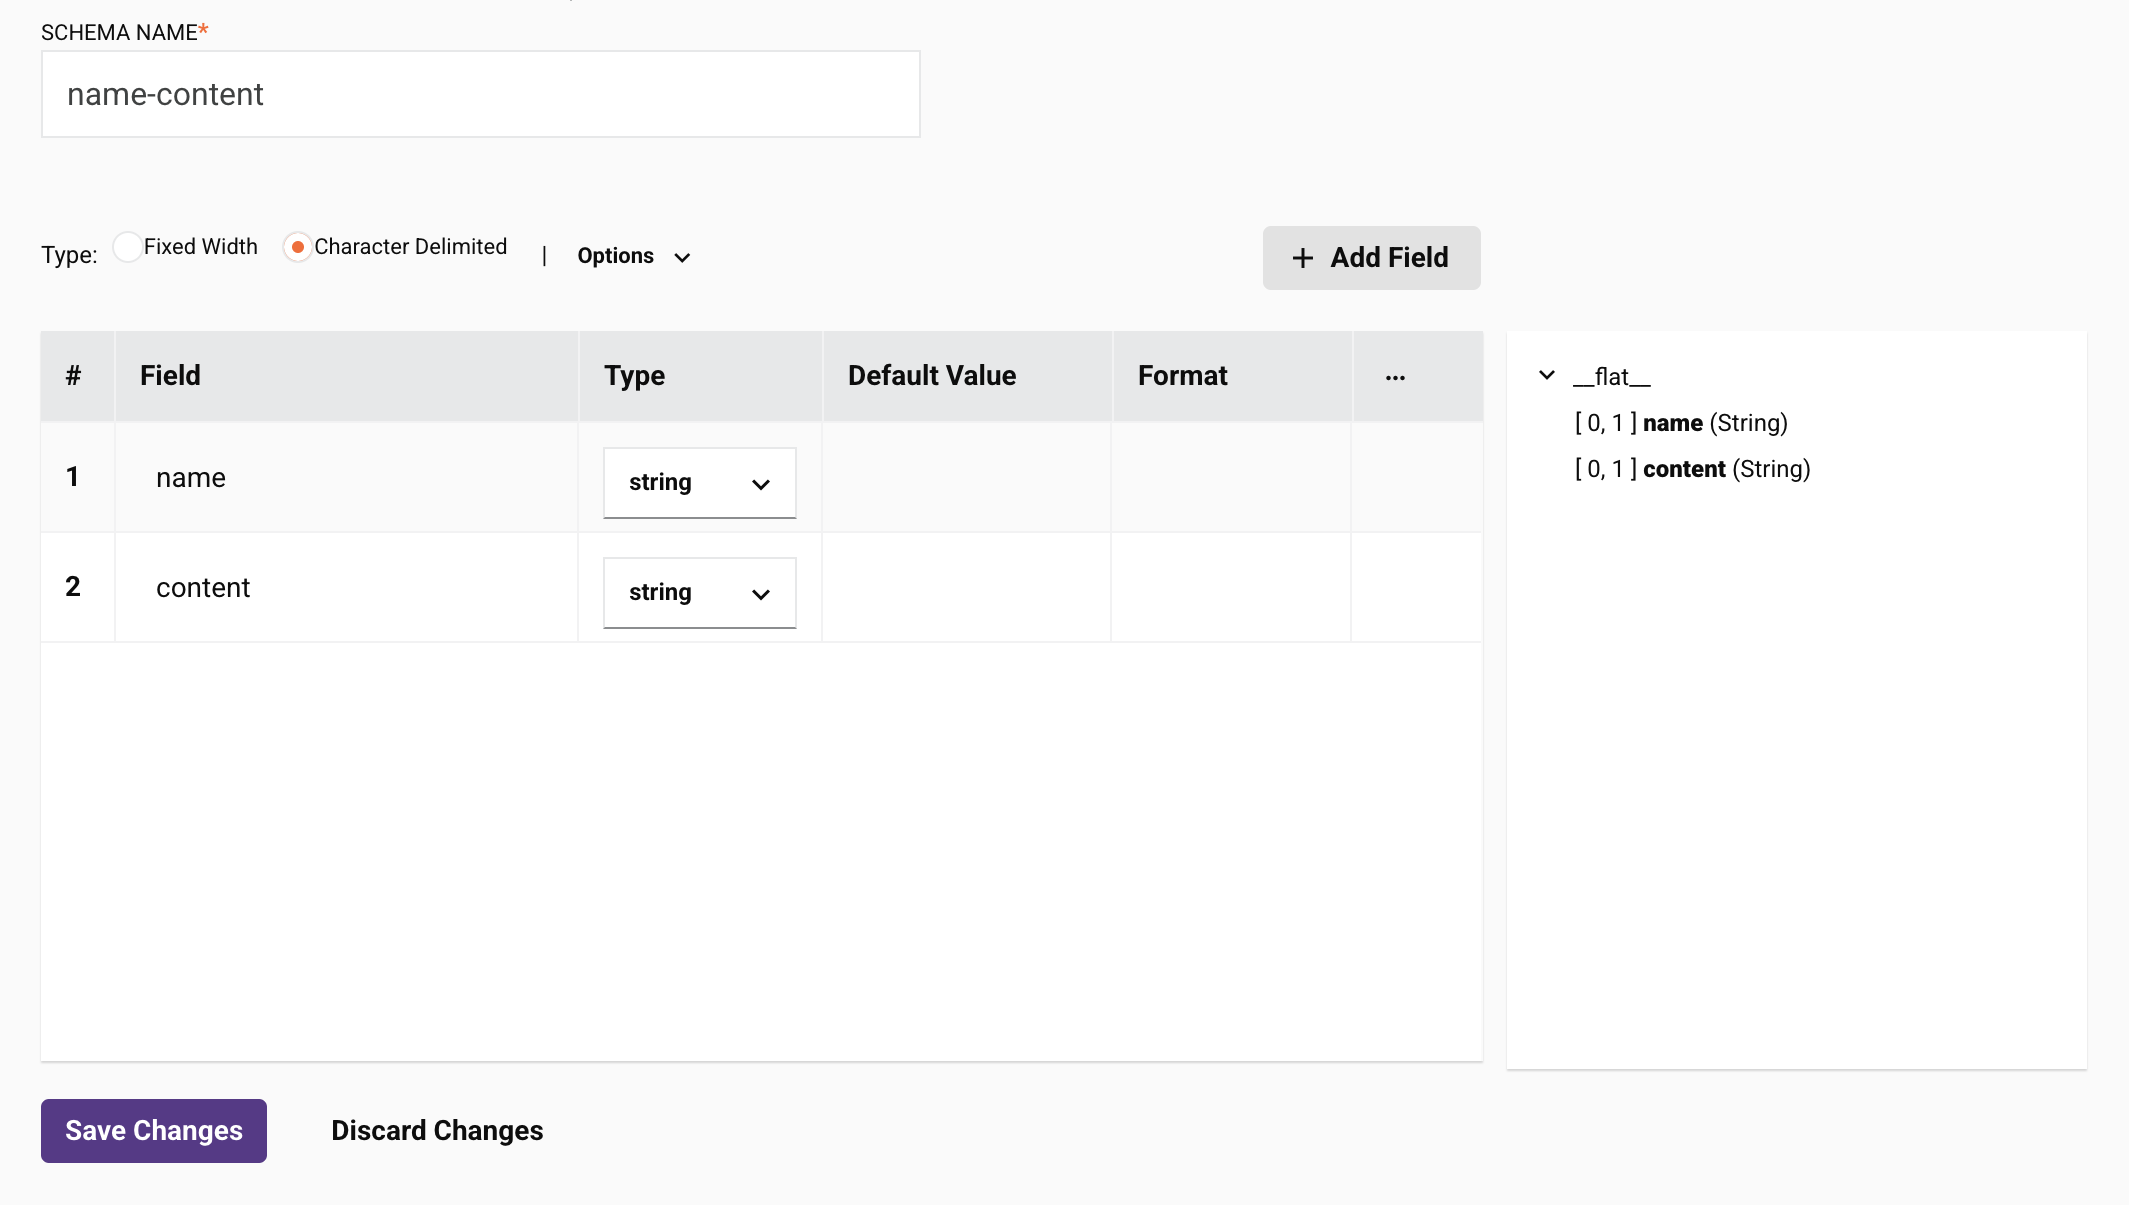
Edit the transformation, but unlike Scenario 1, create a new flat schema (Define Schema > Create Flat) with two string fields: a name field and a content field:

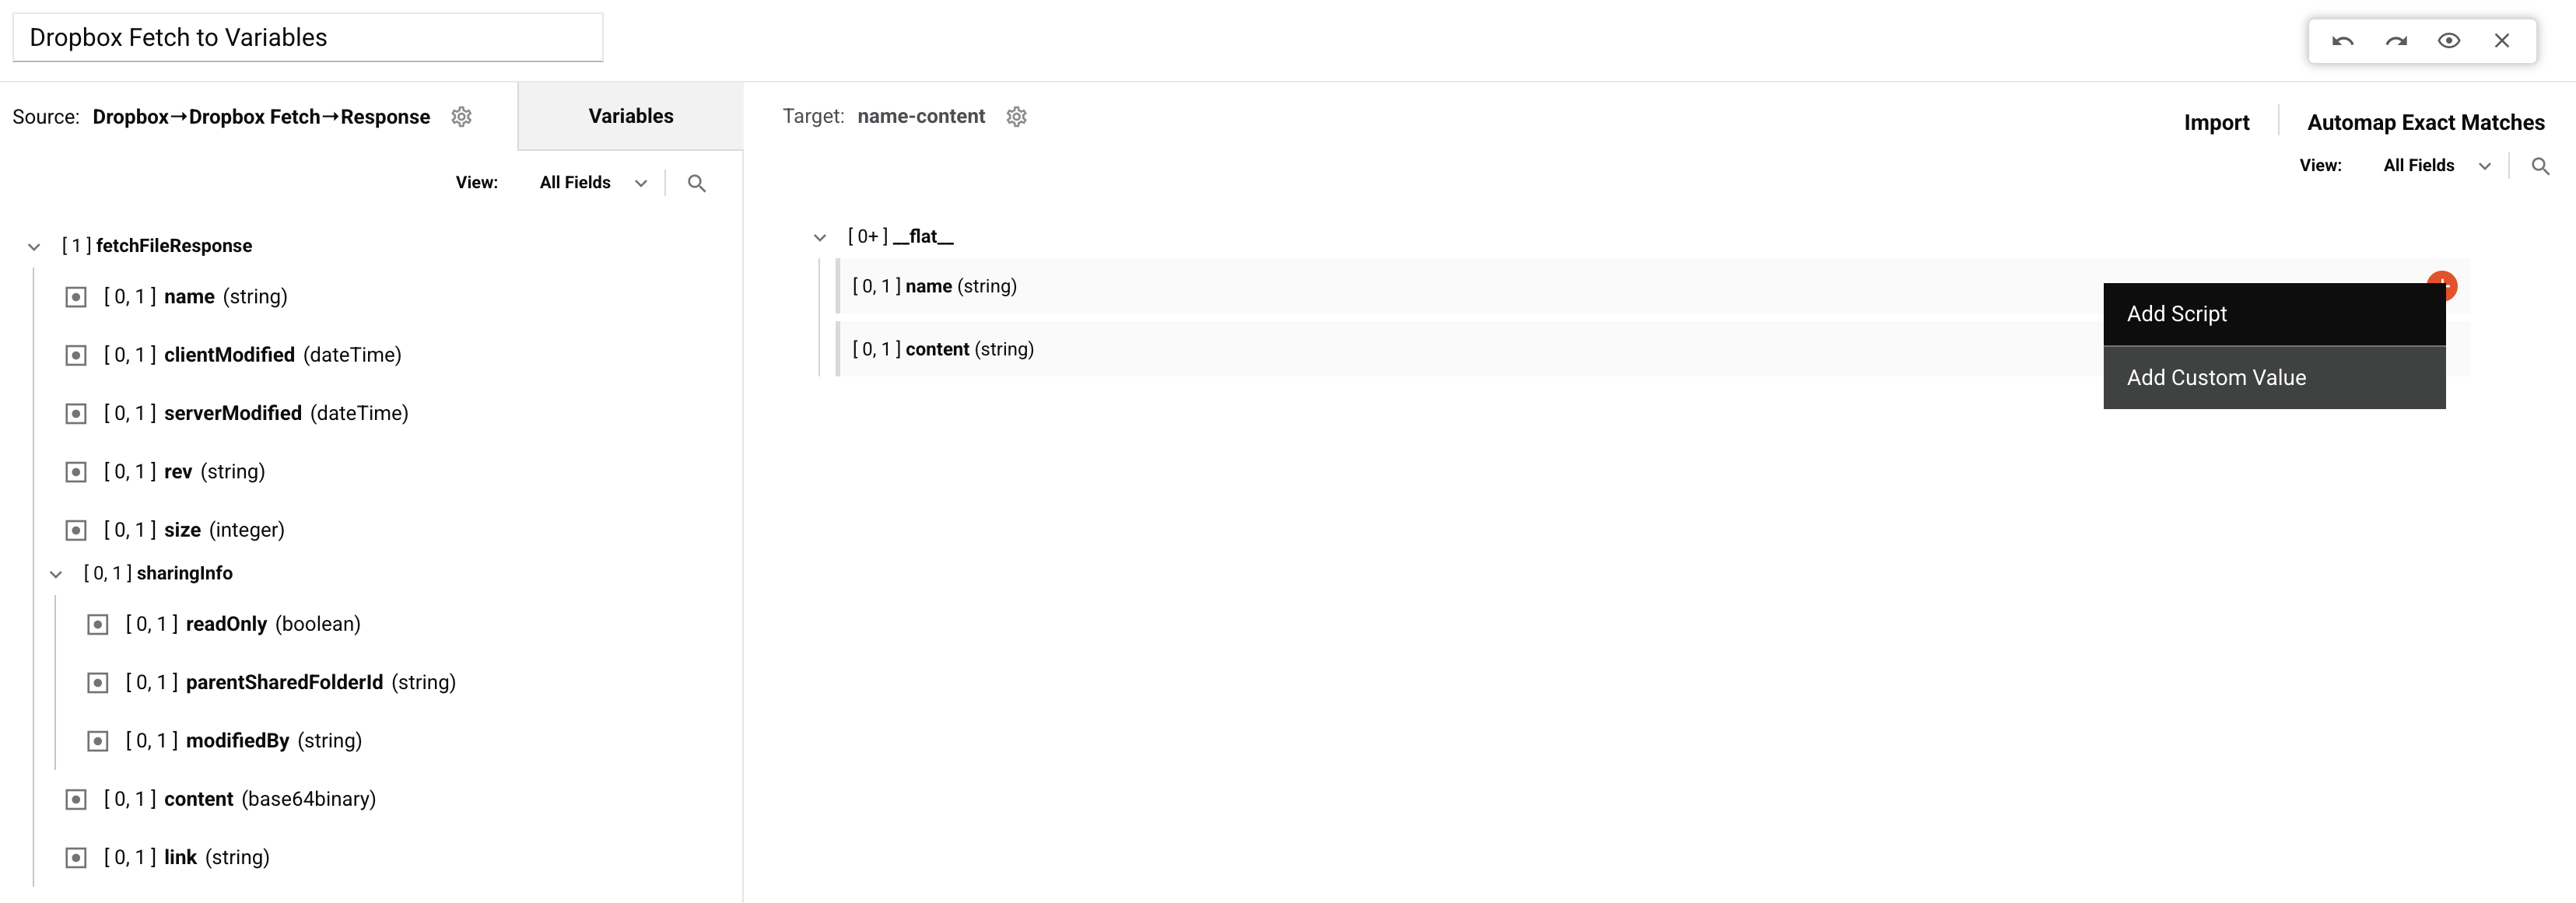
Once created, you can use the Automap Exact Matches link to map the source fields to the target fields.
4. Edit the target field mappings
Add a script to each target field to write the name and content to global variables, then report the global variable values in the operation log.
To add a script to a target field, hover over the target field, click the add icon, and select Add Script.

For the name field, enter this script:
<trans>
$dropboxName = fetchFileResponse$name$;
WriteToOperationLog("Fetched from Dropbox: " + $dropboxName);
$dropboxName;
</trans>
For the content field, enter this script:
<trans>
$dropboxContent = String(Base64Decode(fetchFileResponse$content$));
WriteToOperationLog("Decoded Dropbox file content: "
  + Length($dropboxContent) + " characters");
$dropboxContent;
</trans>
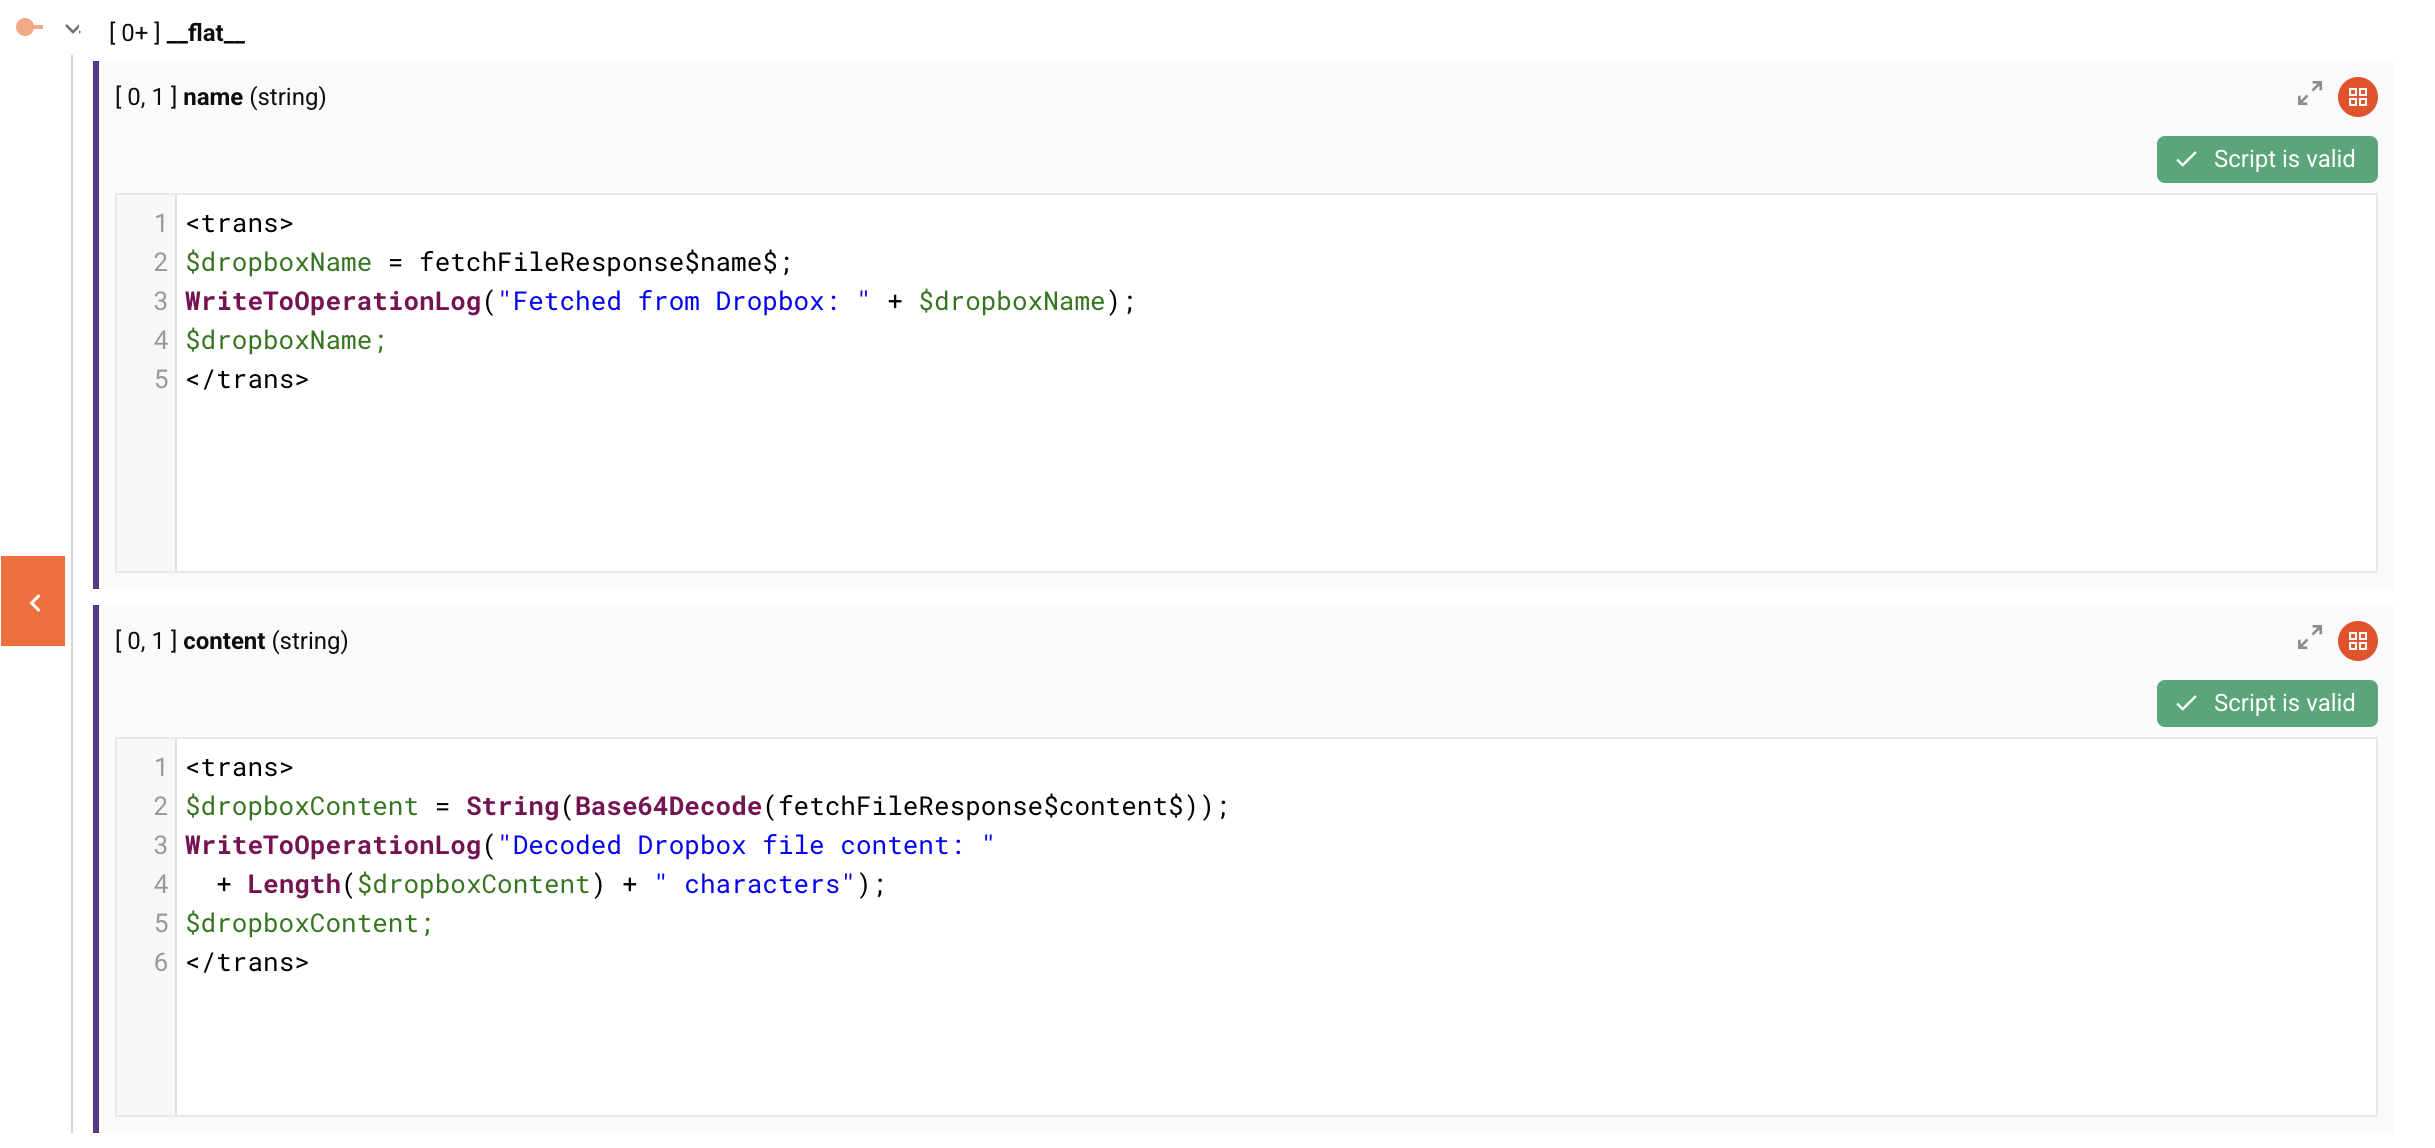
When the scripts are displayed, they should be similar to this:

The name field script takes the name from the Dropbox Fetch File response, assigns it to a global variable, writes a message to the operation log, and then sets the name as the value of the field.
The content field script takes the content from the Dropbox Fetch File response, decodes it from Base64, assigns it to a global variable, writes a message to the operation log, and then sets the content as the value of the field.
These variables are now available to be used to write to the FTP server. When finished, return to the workflow.
5. Add a script to the operation
Add a script as an operation step after the transformation. It references the FTP Write activity from Scenario 1: Fetch file, as shown below.
Enter as the contents of the script (in Jitterbit Script language):
<trans>
WriteToOperationLog("Received Dropbox file: " + $dropboxName + " "
  + Length($dropboxContent) + " characters");
WriteFile("<TAG>activity:ftp/FTP/ftp_write/Write</TAG>",
  $dropboxContent, $dropboxName);
FlushFile("<TAG>activity:ftp/FTP/ftp_write/Write</TAG>");

WriteToOperationLog("Wrote Dropbox file: " + $dropboxName);
</trans>
Important
The name FTP used in the above code fragment must match the name of the FTP connection and Write must match the name of the FTP Write activity used in Scenario 1: Fetch file in order to reuse it.
Close the script to return to the workflow.
6. Run the operation
Deploy and run the operation. If successful, you will see a file created at the FTP server with the same name and contents as that of the file fetched from Dropbox. Appropriate messages will be written to the operation log:
